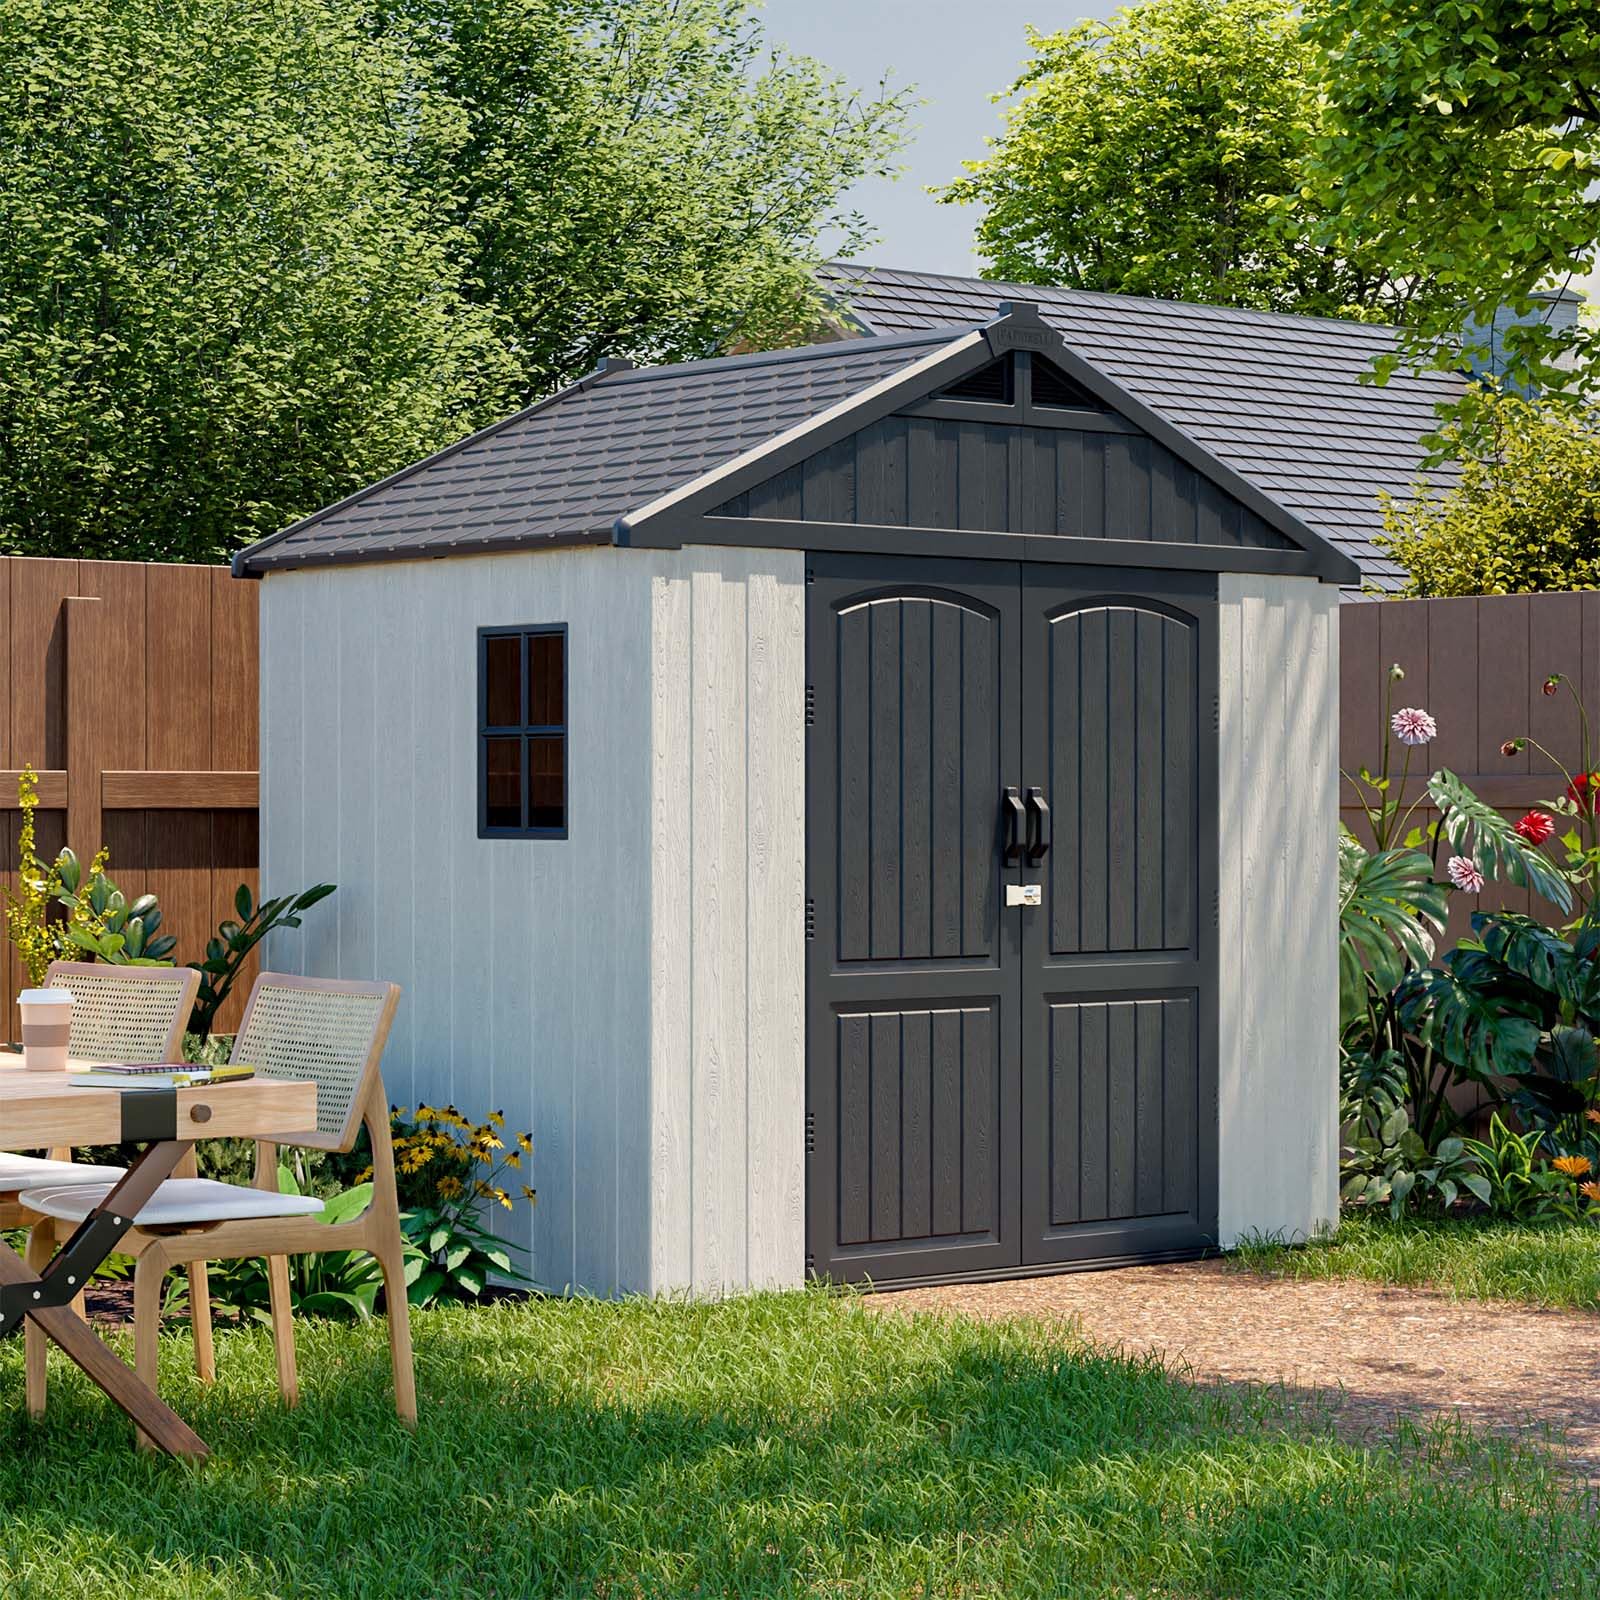
Buying a ready-to-assemble shed from Costco, Sam’s Club, Home Depot, or Lowe’s is a smart move if you’re looking for extra storage without spending a fortune. These sheds are convenient, relatively affordable, and surprisingly durable — if you install them correctly.
At Orange County Handyman Services, we’ve helped dozens of homeowners avoid frustrating (and expensive) mistakes when setting up these boxed plastic sheds. Here’s what you need to know to set yours up the right way:
1. Pick the Right Spot First
Before you even open the box, scout your property carefully.
You’ll want a spot that is:
- Flat (or easily leveled)
- Free from water drainage issues
- Away from tree roots that could grow underneath
- Clear of overhead branches that might drip sap or break
Choosing the right location saves major headaches later — like doors that won’t open, sagging floors, or water pooling around your foundation.
2. Grass or Dirt Won’t Cut It
You can’t just build the shed on your lawn and hope for the best.
Plastic sheds are lightweight compared to wood structures, but they still need:
- A firm, level, and well-draining base
- Protection from soil moisture
- Long-term structural support
Without a solid foundation, you’ll end up with warped panels, leaning walls, and stuck doors after the first rainy season.
3. Choose Your Foundation
You have a few good options for a solid shed base:
- Compacted Gravel Pad: Affordable, drains well, and keeps the shed elevated
- Concrete Slab: The most durable, especially for larger sheds
- Paver Base: Good for small sheds; offers stability and drainage
For most Costco and Sam’s Club sheds (8×10 or larger), we strongly recommend a concrete slab for maximum lifespan and minimal maintenance.
4. Prepare the Ground Properly
Here’s what we typically do for our clients:
- Clear grass and topsoil several inches deep
- Add a gravel sub-base for drainage
- Compact the gravel thoroughly
- Set forms if pouring a concrete slab
- Pour, level, and cure the concrete
- Anchor the shed base to prevent shifting
Even if you opt for gravel or pavers instead of concrete, preparation is key. Skipping these steps will guarantee problems later.
5. Assemble With Care (and a Buddy)
Plastic sheds are modular, meaning you clip or bolt panels together in a sequence. Follow the instructions carefully and have a second person to help:
- Panels are often large and flexible — they need two people to handle safely
- Ensure each section is square and level before proceeding
- Use all supplied anchors and hardware
- Don’t skip wall reinforcements or extra floor supports if included
A rushed or sloppy assembly can shorten the life of the shed dramatically.
🛠️ Need a Hand? Orange County Handyman Services Can Help
If you’d rather skip the heavy lifting, we’re happy to help.
We offer:
- Full site prep (clearing, leveling, gravel, concrete)
- Shed assembly and anchoring
- Small slab or paver installation
- Hauling away packaging debris
Don’t risk setting your $1,000+ shed on unstable ground.
We can set it up right the first time — so it lasts for years to come.
👉 Contact Orange County Handyman Services today and let’s get your project moving!