A well-designed whole house water system starts long before the water begins to flow — it starts on your mounting board.
If you’re building a DIY water filtration and softening setup, the board you mount it on is more than just a backdrop — it’s the heart of the system’s layout, serviceability, and long-term reliability. Whether you’re installing inside a shed, garage, or utility room, your choice of materials, spacing, and pipe layout will make all the difference.
Why Mounting Matters
Most homeowners focus on the equipment itself: the filters, regulators, and water softeners. But when these are installed haphazardly on a wall or floor, they’re prone to vibration, awkward servicing, and future leaks. Moreover the potential mounting surfaces in a finished or unfinished open stud wall are difficult to mount to, are uneven, or lack the screw-holding strength of 3/4-inch plywood.
🛠️ Benefits of Mounting a DIY Water Treatment System on a Flat Surface
Mounting your DIY water pressure, filtration, and conditioning system on a flat surface offers several advantages:
- Precision Installation: Ensures components are securely and neatly arranged, reducing the risk of leaks and vibrations.
- Ease of Maintenance: Simplifies filter changes and system servicing, making routine maintenance more straightforward.
- Modular Design: Allows for easy upgrades or modifications to the system as needed.
- Portability: If mounted on a board or panel, the entire system can be relocated or transported if you move.
- Aesthetic Appeal: Provides a clean and organized appearance, especially if the system is visible in utility areas.
Think of it as building a control center, not just a plumbing project.
Materials That Work
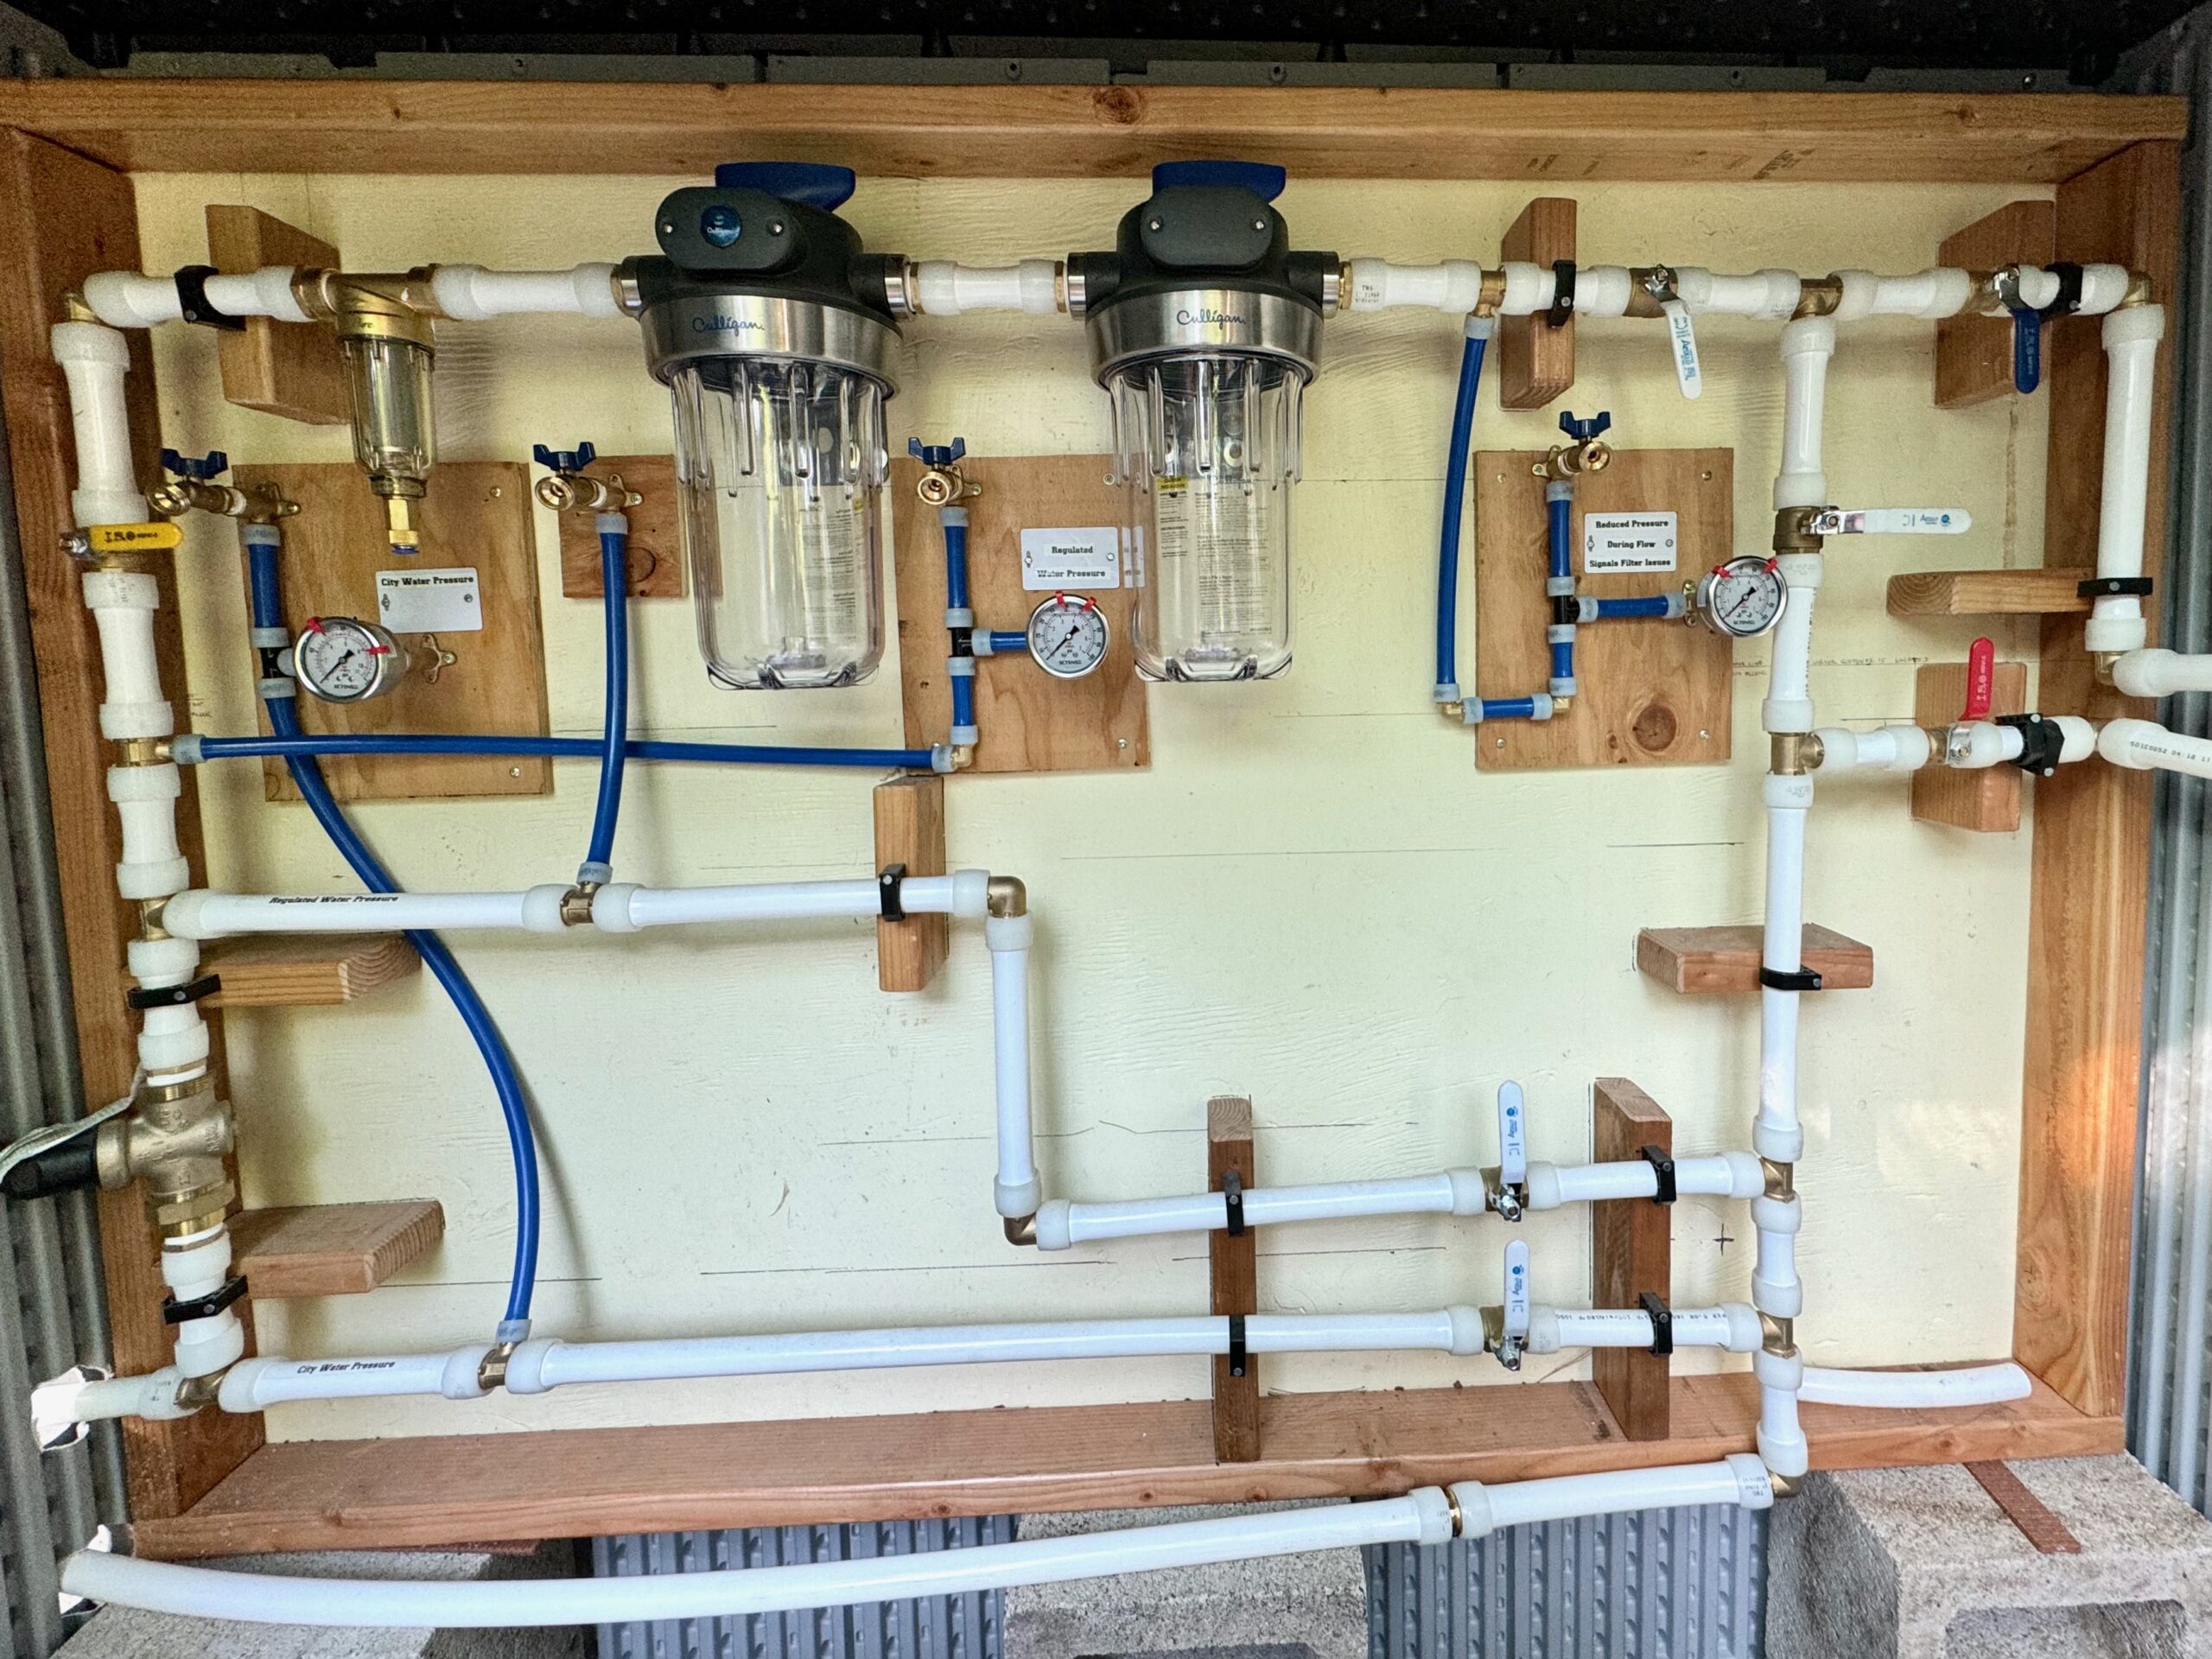
At OC Handyman HQ in La Habra Heights, as an ongoing experiment we used a ¾-inch plywood sheet, reinforced with a border of 2×4 lumber frame. The frame stiffens the plywood. frames the expensive components, acts as carrying handles to move from saw horses or a work surface to the wall once constructed, can be removed from the wall or from an outdoor shed, for repairs, upgrades, trials of new filters and always evolving water filtering and treatment devices; can be moved to other family members’ homes if you want to bless others with clean, filtered, safe water.
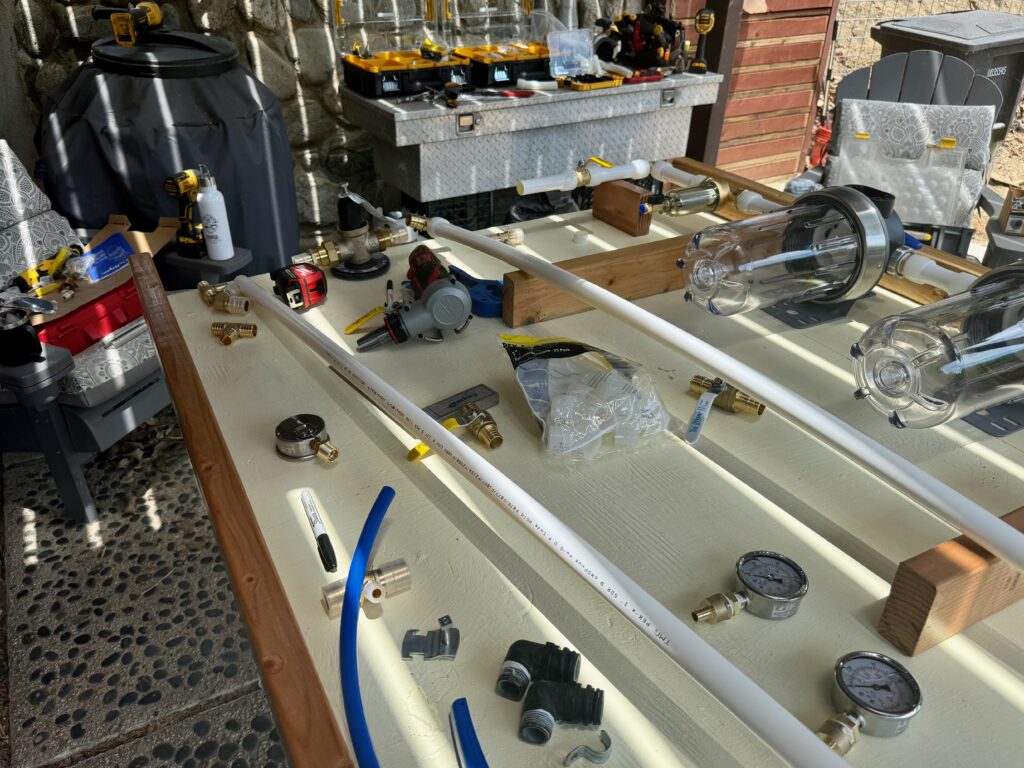
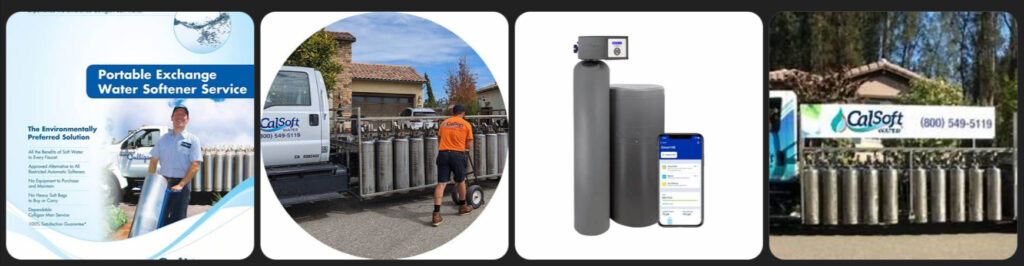
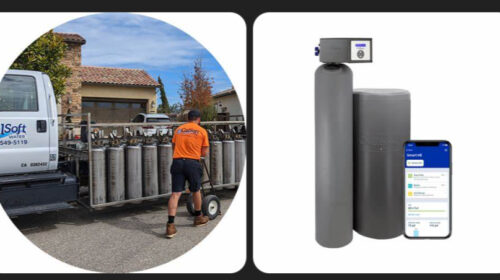
Moreover a full or partial sheet of plywood is sufficiently strong enough mounting surface to support the weight of our Culligan filters that get heavy when filled with water, support the heavy, solid brass, WATTS pressure regulator, the numerous bypass valves, pressure gauges, air-bleed and water testing hose bibs, helf secure and straighten the super-stiff PEX-A tubing, and a solid support for the stainless steel flexible water lines to a your privately-owned self-standing water softener –or– where your service provider like Culligan, Puroserve, Sunshine Water, and CalSoft Water providing regular delivery and exchange of regenerated softener tanks to your homes or business.
To secure the board, we recommend:
- Three studs or anchor points across the back
- Rubber anti-vibration pads beneath brackets
- 1-inch pipe clamps with flexible clearance for system expansion
Layout Best Practices
- Filter First: Place your sediment and carbon filters first in line. Leave at least 3 inches of vertical space below for filter housing removal.
- Pressure Regulator Next: Install after filtration but before softening. Mount at eye level if possible for easy gauge visibility.
- Bypass Valves: Use ball valves to bypass individual components — and label them clearly.
- Water Softener Last: The softener unit should sit on a stable surface (not on the board) but connect cleanly via flexible hoses or PEX.
- Spigot Testing Ports: Add test spigots before and after major components to check pressure and water clarity at different stages.
- Label Everything: Use zip-tied tags or printed labels for each line and valve.
Examples From the Field
We’ve mounted several systems now, including one fully contained in a $400 Costco shed. The shed layout included:
- A full-width board on the back wall
- Dedicated light and outlet for softener controls
- Gravel base to reduce cost (soon to be upgraded to concrete)
- Filter and regulator section forward of softener for easy access
The result? An attractive, organized, and highly functional water system install that’s both homeowner-friendly and serviceable by pros if needed.
Cross-Linking Articles:
Leave a Reply