In Southern California, where water quality and pressure are both significant concerns, a Whole House Water System isn’t just a luxury — it’s a necessity for homeowners tired of clogged screens, damaged appliances, and high repair bills.
For those without an ideal garage layout or wall space, a shed-based system offers a smart alternative. That’s exactly what we built at the LSI/SDA headquarters — and it’s working beautifully.
💡 Why Use a Shed for Your Whole House Water System?
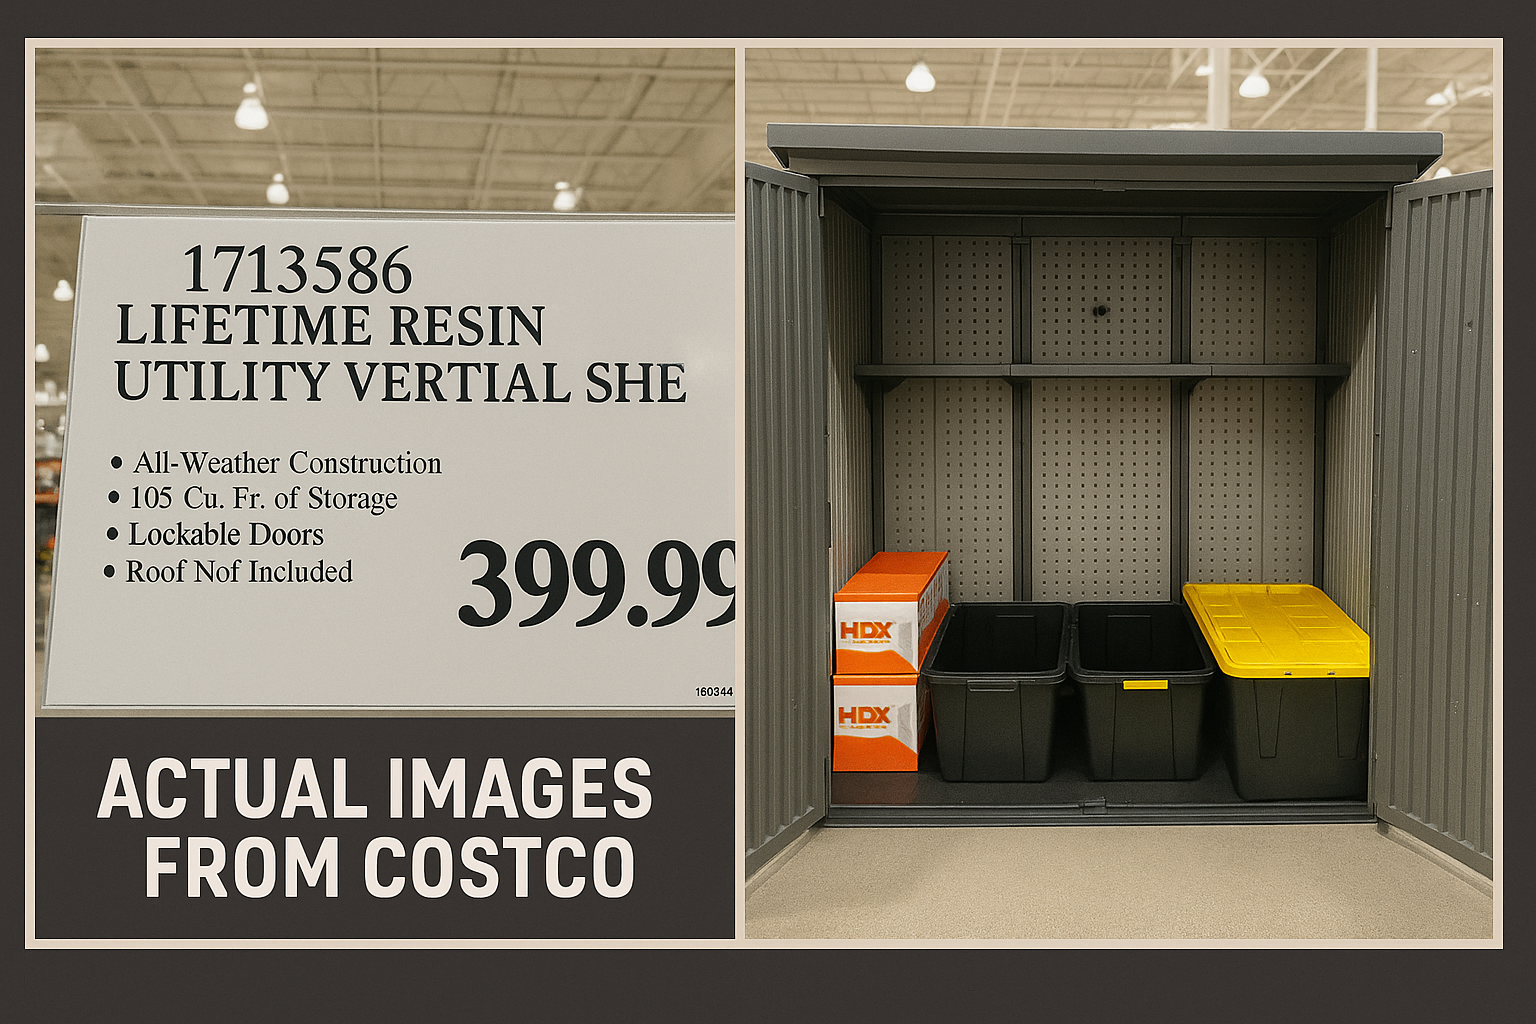
We chose a 7′ x 4′ Costco plastic shed (about $400) as the housing for our water filter and softener system — and here’s why it works so well in Southern California:
✅ Weather Protection
The UV-resistant plastic structure keeps everything protected from sun, wind, rain, and dust — extending the life of your filters, valves, and electronics.
✅ Smart Use of Space
The interior fits our experimental 6′ wide x 4′ tall system board (a 4×8 sheet of plywood with 2 feet cut off) – mounted vertically on the rear wall of the resin shed — mounted like a Big Screen TV for line of site monitoring of pressures, working of shunt valves, and ease of changing filters – all while standing inside the shed – protected from rain and sun, room for a water softener, it’s brine tank, and stacks of Morton salt or the more expensive Potassium Chloride 60LB bags.
✅ Utility Access
Many homes have their main 1″ water line located outside — not in a garage or utility room. The shed can be placed right near that line for easier routing and fewer plumbing modifications.
✅ Electrical Compatibility
Most softener heads require 120V power. We used a weatherproof outdoor outlet box and a GFCI plug to safely power the softener — no rewiring the house.
🧠 Why Not Just Mount It in the Garage?
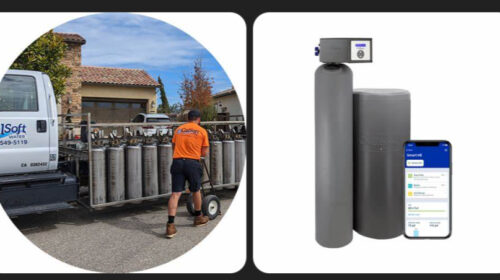
In older SoCal homes, portable water softening services (like Culligan, Sunshine Water, and CalSoft) often rerouted the main water line to a garage or side wall. These setups were designed to swap out steel tanks on a service loop. Today, many homes still have:
- Existing softener loops already in place
- Accessible PEX or copper lines on an exterior wall
- No room for vertical installs indoors
So for modern homeowners, a modular shed build makes more sense than trying to shoehorn a full filter system into a garage corner.
🛠️ Bonus: You Might Not Even Need a Plumber
If your home already has a softener loop or shutoff valve cluster, your DIY system can connect directly to those lines. With proper planning, that means:
- No cutting copper
- No permits
- No expensive service call
Just a smart, portable installation that’s:
✅ Easy to upgrade
✅ Simple to shut down for maintenance
✅ Fully movable if you ever relocate
🧰 What’s Inside the Shed?
Mounted to a reinforced board inside the shed:
- Dual Culligan Filters – One 5-micron sediment and one charcoal filter to capture contaminants and improve taste/smell.
- Watts 25AUB Pressure Regulator – Reduces 125 PSI city water pressure to a safe 60 PSI for indoor plumbing.
- Multiple Brass Ball Valves – For bypassing the softener, the filters, and even the regulator in case of maintenance or fire emergencies.
- Spigots – Air bleed, drain-off, and inline pressure gauge access.
⚠️ We designed the system with filter serviceability in mind. You can bypass the filters during changeouts without affecting indoor water flow — a must-have for multi-person households.
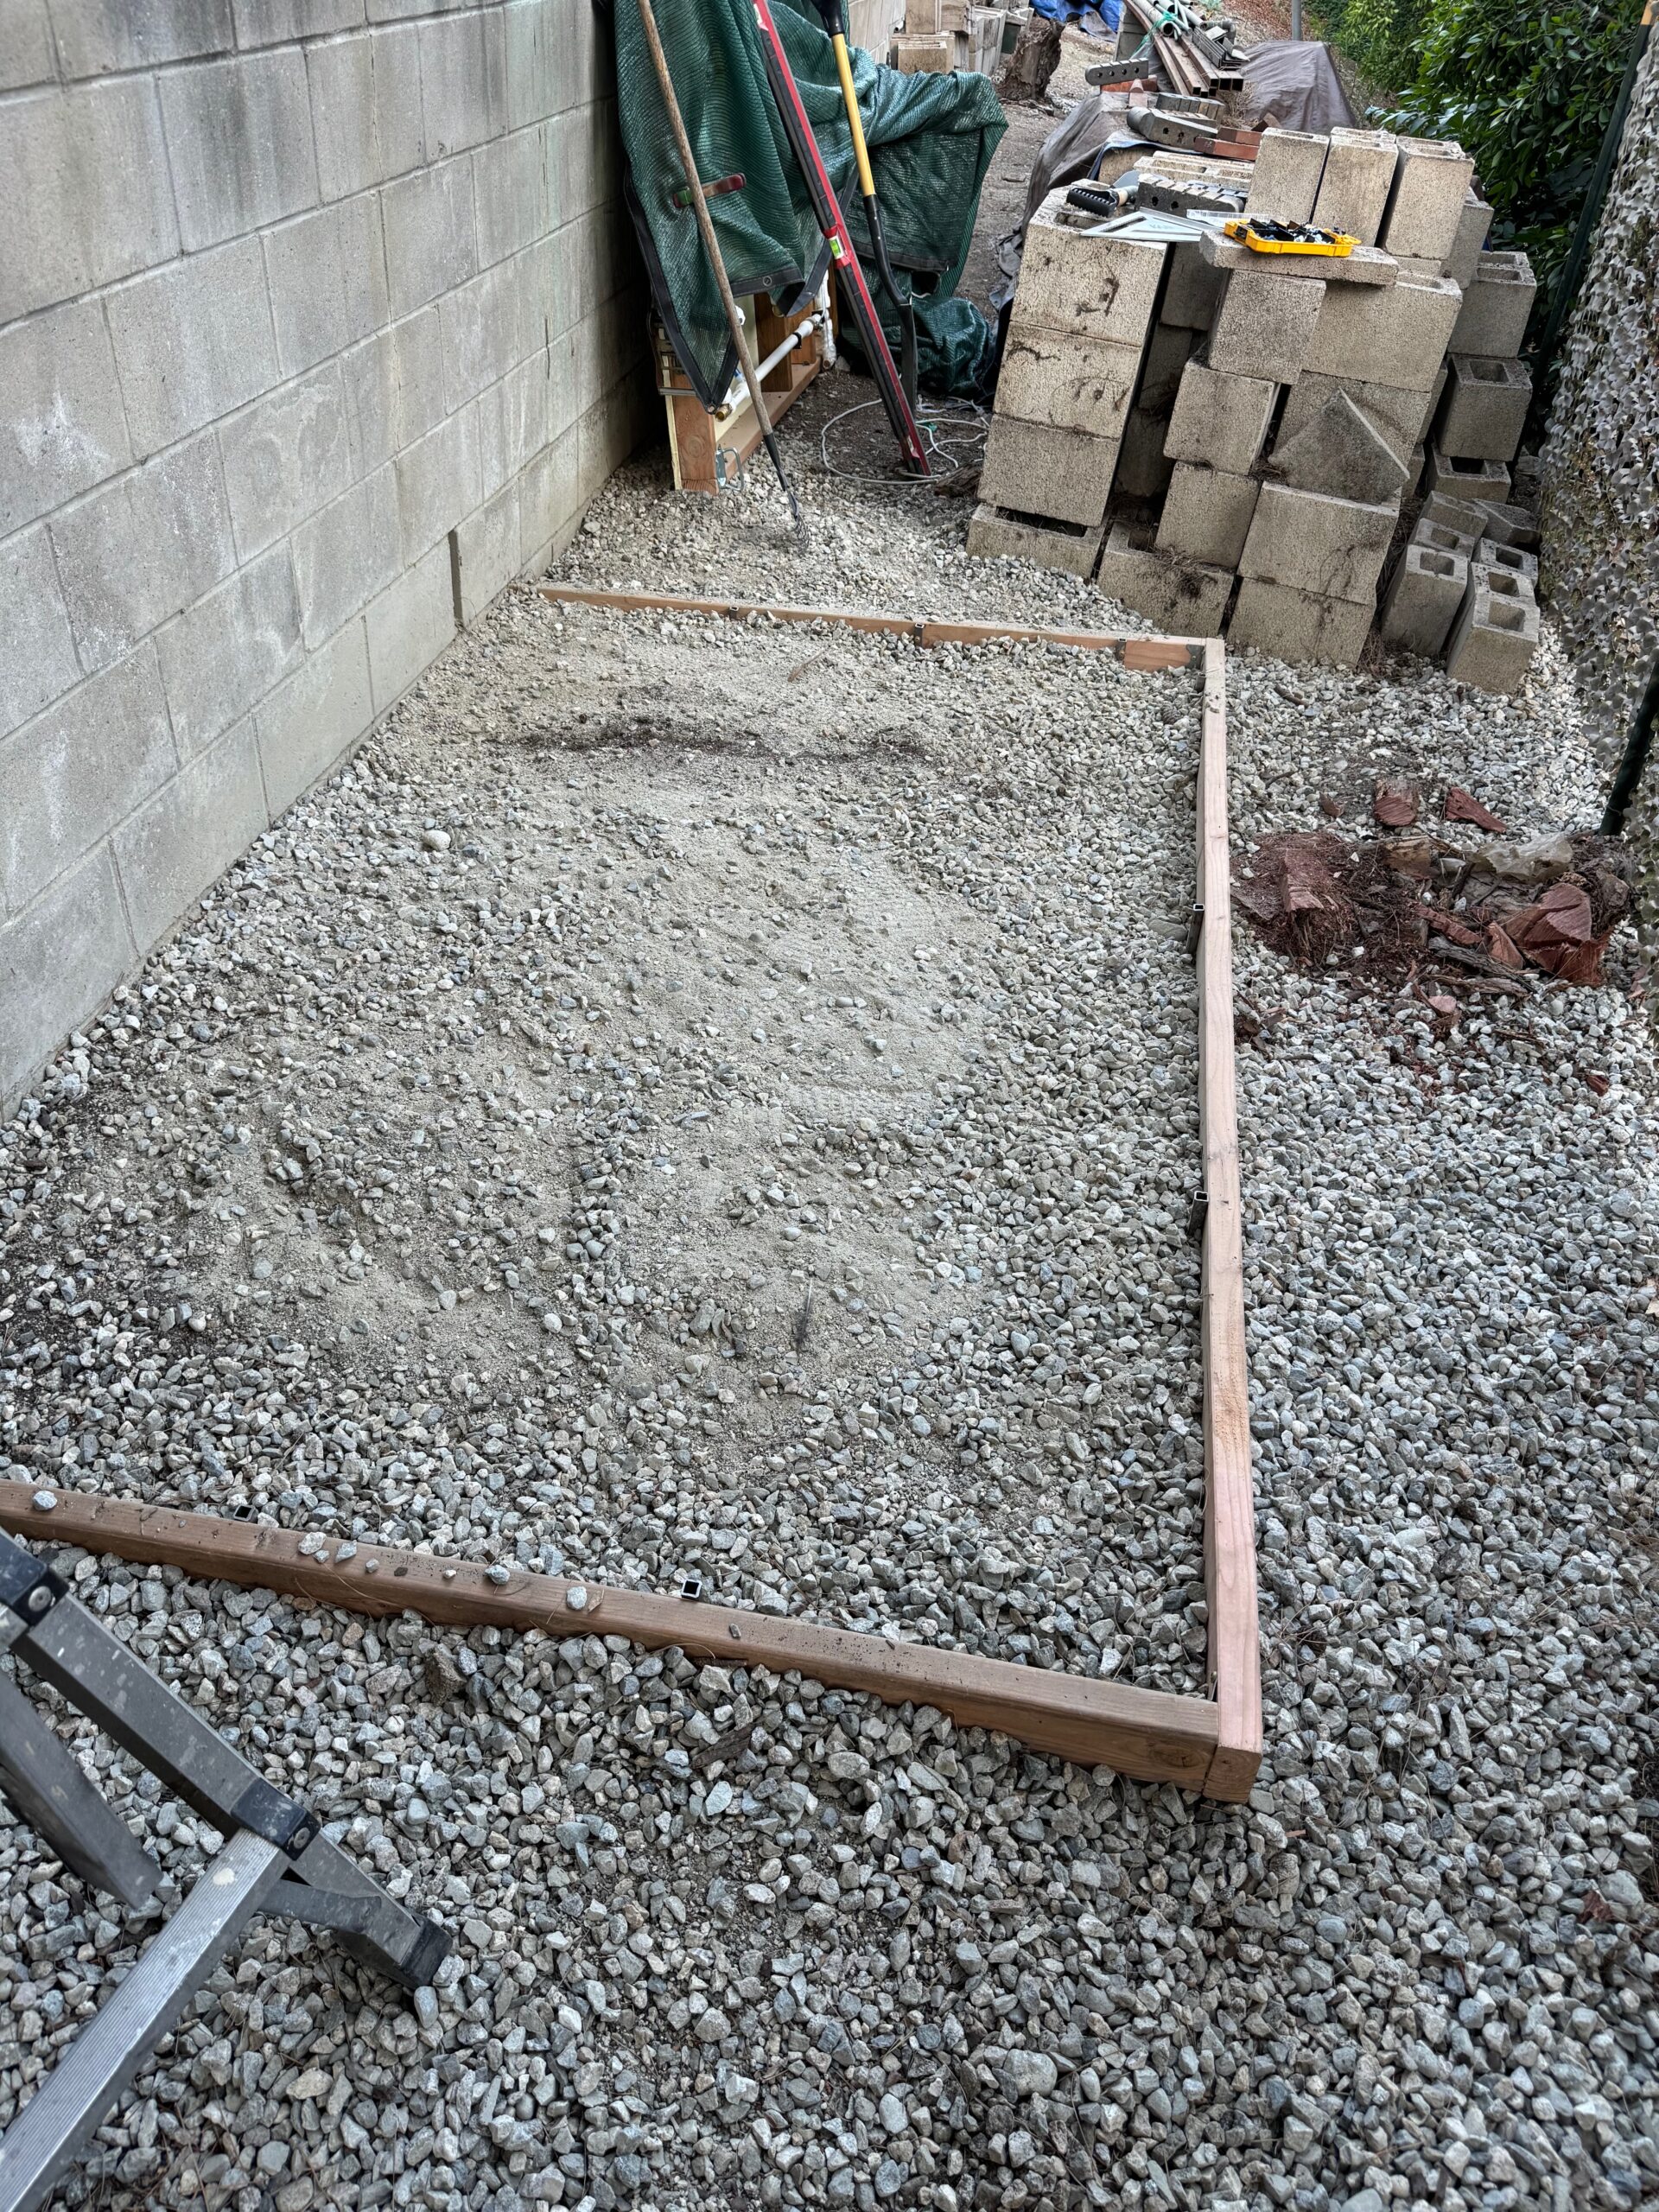
🧱 Shed Foundation and Stability
This “Whole House Water System” experiment #1 was placed on compacted gravel – image below.
Knowing that experiment #2 (a concrete slab) was a couple months out, I didn’t use a compactible gravel mix such as 3/4-minus, or Road Base #2 that would have performed far better! 🙁 My bad.
As expected, the gravel base did not suffice — at least for this Costco-Lifetime Plastic Shed that we set a heavy Genesis Water Softener and its accompanying brine tank that can be filled with up to 400 LBS of Morton salt or Potassium Chloride. The shed – while quite the weather-resistant product – is an affordable $400 resin shed sporting a this (for gravel) 1-inch plastic floor. The dual hinged shed doors immediately caught on the uneven gravel rocks which foot traffic would disturb from compacted to loose.
It is likely that a compacted #2 road base material might have performed better. Our plan is a follow-up article where we replace the gravel base with a poured concrete slab we’ll place on this gravel.
he system after 9 months when we will pour a concrete base and review the system and its performance.
NEXT: After 9 months we will disconnect the whole house water system, move this shed aside, prepare this same space for a concrete pad and tell you how much better that should be. We mention the values of concrete shed slabs in our shed foundation articles.

Concrete gives the shed — and its contents — better airflow, a level structure, and less long-term maintenance.
🌿 Exterior Line Separation
Unfiltered water still flows to exterior hose bibs for gardening, wildfire prep, and exterior pressure washing. These lines run from the main line prior to filtration — saving filter life and ensuring unrestricted flow for outdoor use.
✅ Want to Build One?
This same system could easily be installed:
- In a side yard shed
- Inside a garage
- On a basement wall (for other regions)
- In any utility room with a 4×6 board and a bit of planning
We’ll soon post diagrams, part numbers, and flow charts from our install so DIY homeowners and tradespeople can replicate it.
Leave a Reply