Whole House Water System | OC Handyman Services
A smart water system starts with a smart layout.
Whether you’re a seasoned tradesperson or a DIY enthusiast, planning how and where to mount your system’s components is critical to long-term function and maintenance. At OC Handyman Services HQ, we learned firsthand how a properly designed mounting board can save hours of headache — and hundreds of dollars in future repairs.
🪵 Why Use a Mounting Board?
Most filters, regulators, and softeners aren’t designed to float in midair. You need a solid structure — typically ¾” or thicker plywood — to mount your system:
- Keeps components aligned and secure
- Reduces strain on plumbing connections
- Makes upgrades, maintenance, and troubleshooting easier
- Looks professional and clean
We recommend a 4’ x 6’ or 4’ x 8’ board, especially if you’re adding a dual filter system, pressure regulator, ball valves, and bypass plumbing.
🧩 Ideal System Layout: What Goes Where?
Here’s a proven layout we used at our La Habra Heights HQ for a 1″ PEX-A system:
For best results, keep your filters before the softener — this prevents dirt and sediment from ruining your softener’s resin media.
Bonus: Add spigots with gauges before and after key components to monitor pressure changes.
📍 Where Should I Install It?
Depending on your home’s layout, good options include:
- Inside a garage (if space permits)
- On a side wall of your house (in a weatherproof enclosure)
- Inside a Costco-style shed (our preferred choice for quiet, protected setups)
👉 Related: 0255 – Designing a Shed-Based Water System (Costco Buildout)
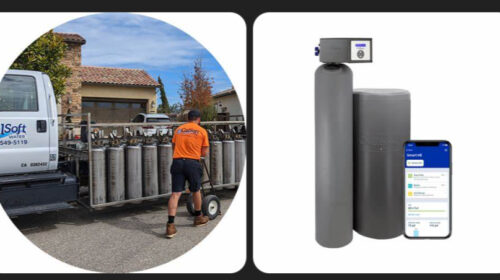
📷 Visual Example
Here’s the final board we mounted inside a 7′ plastic shed:
As you can see, every valve and component is accessible, labeled, and serviceable.
🧰 Pro Tip: Label Everything
Use weather-resistant labels to mark:
- Main Shutoff
- Filter Bypass
- Softener Bypass
- Test Points
- Regulator Bypass
In an emergency, you won’t want to guess.
Leave a Reply